Get your domain name and setup SSL with CloudFlare
Get your domain name and setup SSL with Cloudflare
Few weeks ago I explained how to setup a static page and host it on Github for free using github pages. Have a look at it if you missed it https://kimsereyblog.blogspot.co.uk/2016/07/from-idea-to-product-with-websharper-in.html.
I also explain how we could get a custom domain name for people to access our website easily. For example I’ve setup a github page with my own name domain https://kimsereylam.com and got it served via HTTP.
The problem with setting your own domain name is that your page will not be served with HTTPS. Now for the example website, it is hosted on GitHub and it’s just static data therefore communication encryption isn’t really important. But the issue is that if you share this website to others without specifying the protocol, Chrome will try to open it with HTTPS. And when it does, if you do not serve HTTPS, an ugly error page will show on the browser. This will definitely look bad and more importantly, it makes it look like your site is down. It’s pretty bad.
So today I will share with you how you can serve your website hosted on GitHub via HTTPS for free using CloudFlare. We will see how we can purchase a domain and then setup CloudFlare to protect and accelerate your website. All this steps are important as well if you wish to build a website accessible for everyone on the internet.
This post will be composed by five steps:
- What is CloudFlare
- Get a domain name
- Create a CloudFlare account
- Configure the DNS
- Setup the SSL
1. What is CloudFlare
Official ClouFlare site: https://www.cloudflare.com/
CloudFlare is a service which can be used to proxy all connection to your website. It provides a DNS service to re-route your calls, a CDN service to deliver your resources faster, a free SSL support and many other options.
Let’s assume that you have a GitHub page or another website already hosted somewhere. To make it more accessible, the first thing we would need to do is purchase a domain name.
So let’s start by getting a domain name.
2. Get a domain name
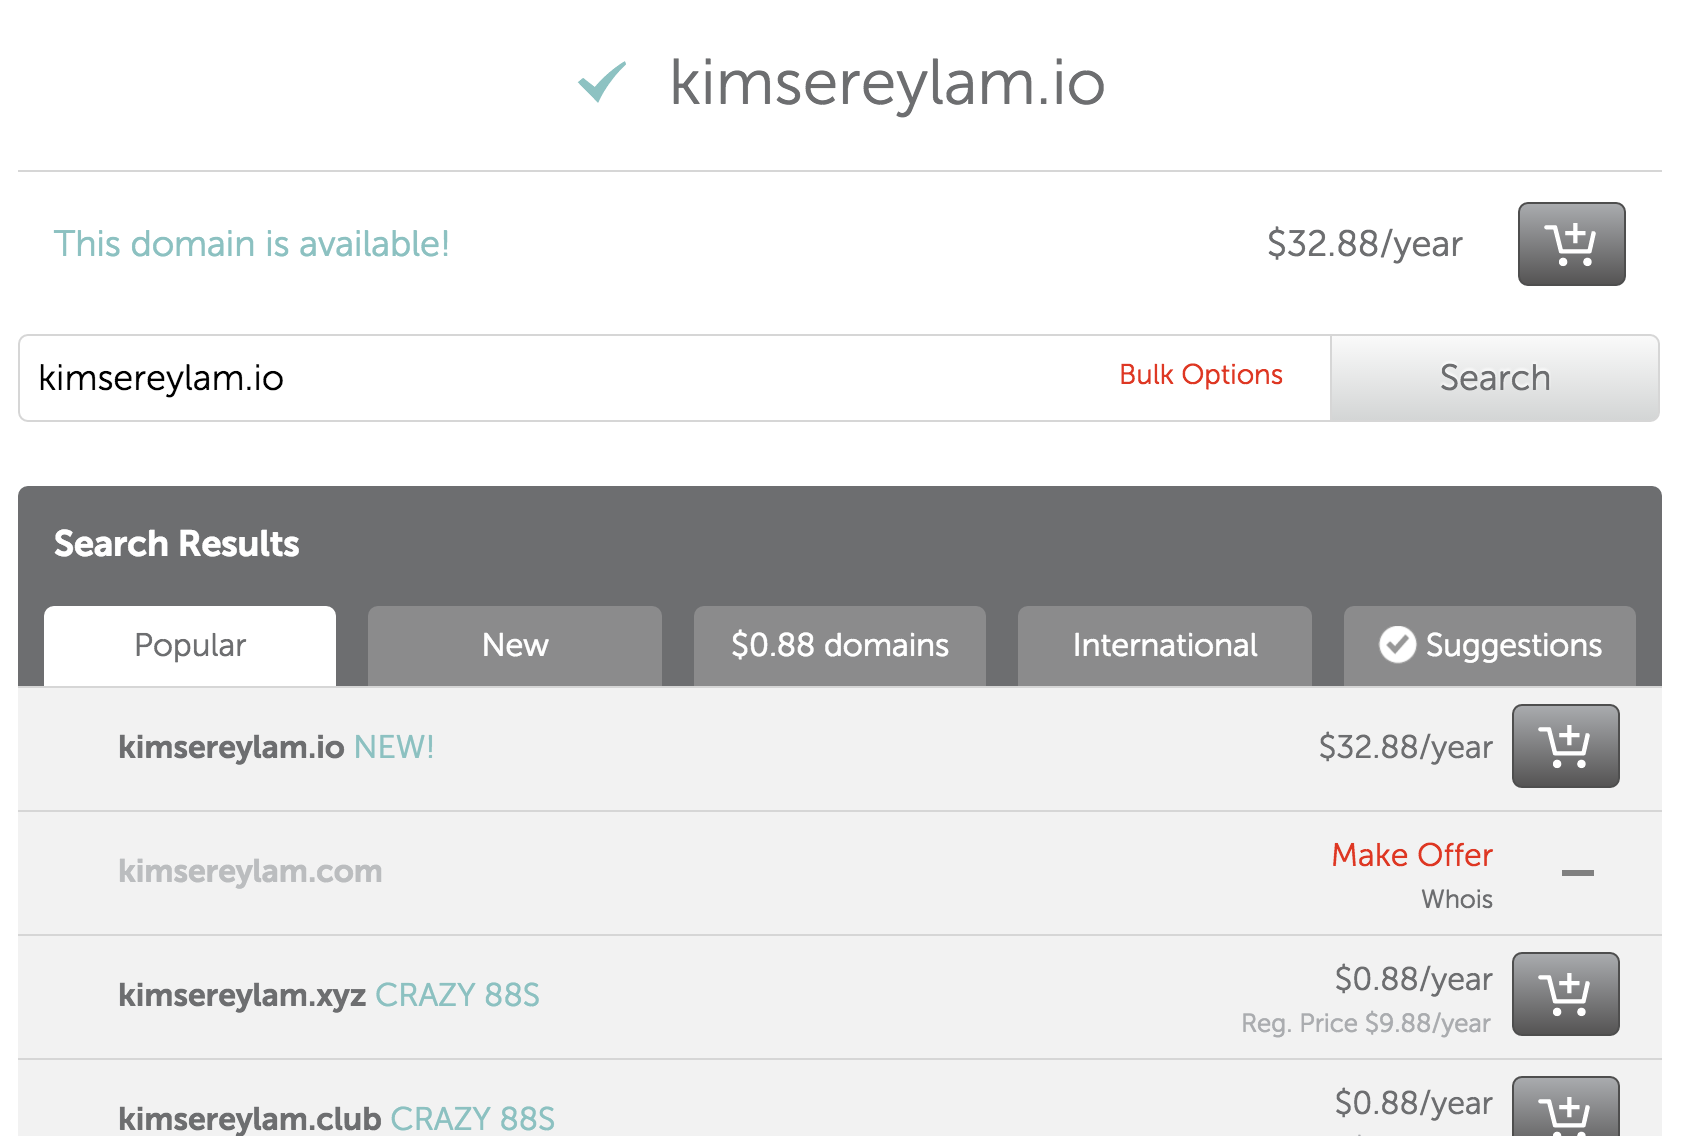
A domain name is the website name, for example kimsereylam.com is a domain name. A domain name is given by registrars. Different registrar propose domain names at different price so it is worth it to compare between registrars.
I usually get mine from Namecheap https://www.namecheap.com/ as so far I’ve got the best price from there. There’s also GoDaddy https://uk.godaddy.com/ even Google is now starting on the registrar business https://domains.google.com.
Anyway choose the cheapest, they mostly differs in the services provided like hosting or guaranty… But I never used one of their services so I won’t be able to give opinions on that I just go where it is the cheapest.

Now once you see your domain under the dashboard, head over to CloudFlare and create an account.
3. CloudFlare account
When you first create your account with CloudFlare, the service scans your DNS records for the first time to detect what settings you already have. You just click next until you reach the main page.
The DNS - Domain name system - links request and resources. When someone try to access kimsereylam.com, I actually want to direct them to my GitHub page kimserey.github.io. That’s what a DNS is for. A DNS record is used to configure the DNS and indicate what maps to what. We will see later how to configure the DNS.
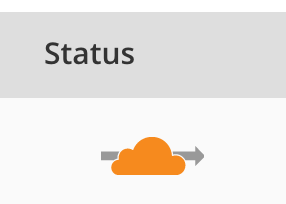
Now once you created your account and scan your DNS records for your domain name, the overview page will show a Pending status.
This is because you need to use CloudFlare DNS servers for your domain.
Go to the DNS configuration page by clicking on the icon.
![]()
And find the server names:
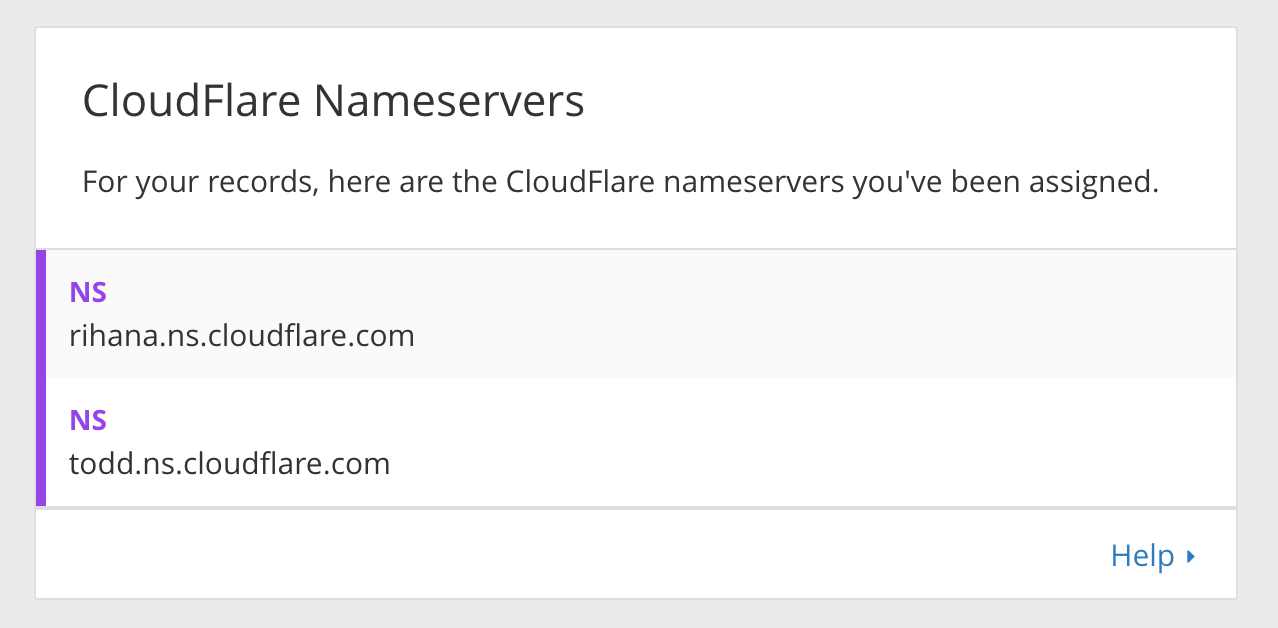
rihana.ns.cloudflare.com
todd.ns.cloudflare.com
Those were attributed by CloudFlare. If not I would have written rihanna with 2 ‘n’. Ha just kidding.
Ok once you got the name go back to your domain registrar and find the DNS page. For me with Namecheap it is directly in Domain List.
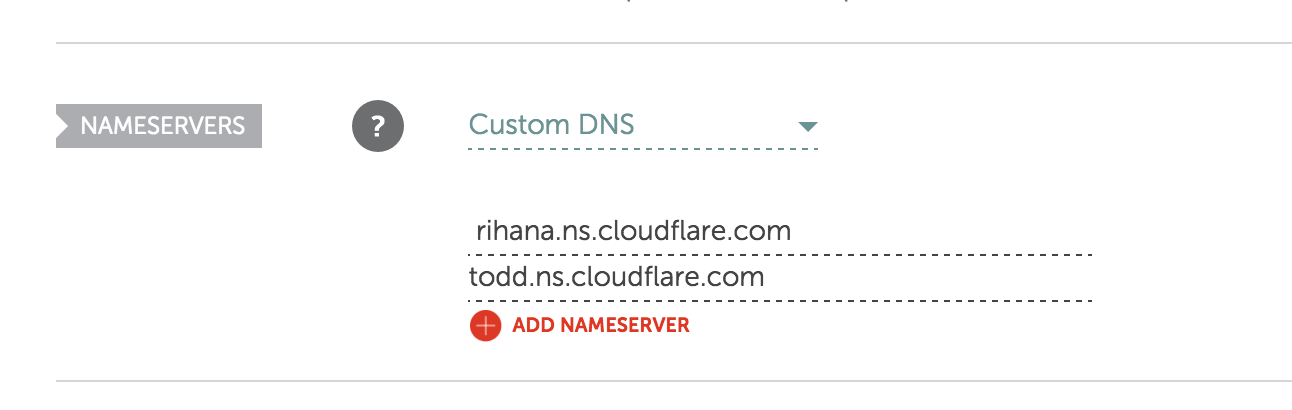
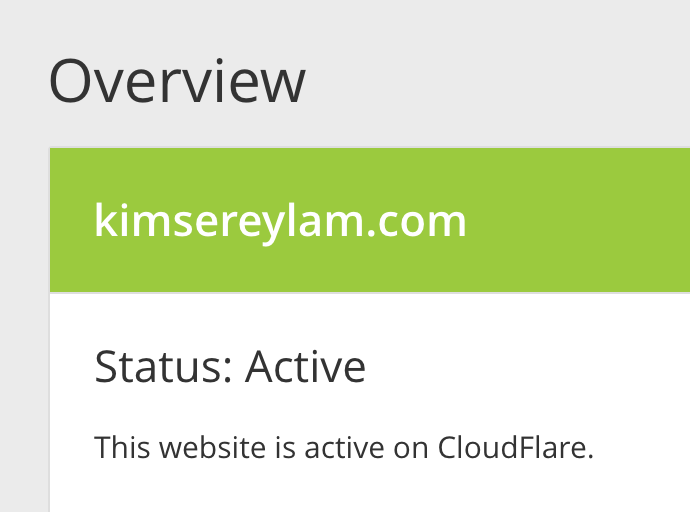
Once you’ve done this modification just wait for a while and go back to CloudFlare, your status should be changed to Active!
4. Configure the DNS and setup the SSL
Now that registrar is configured to use CloudFlare DNS, we can setup the records for the DNS.
There are multiple type of records, for us what we need is to setup a A record and a CNAME record.
A A record is a record which matches the address with an IPv4. An AAAA record matches with an IPv6.
To get the IP of your domain, you can ping [your-domain] and you should get the IP.
PING kimsereylam.com (104.28.26.6): 56 data bytes
64 bytes from 104.28.26.6: icmp_seq=0 ttl=58 time=9.880 ms
64 bytes from 104.28.26.6: icmp_seq=1 ttl=58 time=37.381 ms
64 bytes from 104.28.26.6: icmp_seq=2 ttl=58 time=21.492 ms
You can then setup your A record to direct the root (you can use @ as the name to specify that you want to map the root - naked domain) to the IP.
For example for me it would be:

This will mean that when someone navigates to kimsereylam.com, they will be visiting 104.28.26.6 which is what I want.
Now sometime people navigate to www.kimsereylam.com.
In order to handle that we need to configure a CNAME.
A CNAME is an alias, in this case www will be the alias of kimsereylam.com the root.
It can be configured this way:

Great that’s it, once you are done with that, just wait a while. The process can take up to 24 hours to take effect. For me it took an hour.
Make sure all the status are orange and not grey - grey means inactive.
After an hour you should be able to navigate to kimsereylam.com and www.kimsereylam.com.
5. Setup the SSL
Reminder on SSL
SSL is protocol which provides privacy and data integrity between client and server. It also provides a way to verify that the server is genuine. The privary and data integrity is achieve via encryption. There are two encryption keys involved in the process, a symmetric key and a asymmetric key (private held by the server and public key distributated in SSL). The client uses the public key (the one in the SSL cert) to encrypt a symmetric key which is then decrypted by the server (using its private key) and from then on, client and server uses the symmetric key to encrypt all message in the communication. This is interesting because even the message containing the symmetric key can then be intercepted but since it is encrypted using the public key from the SSL, only the server can decrypt it.
Setup the SSL
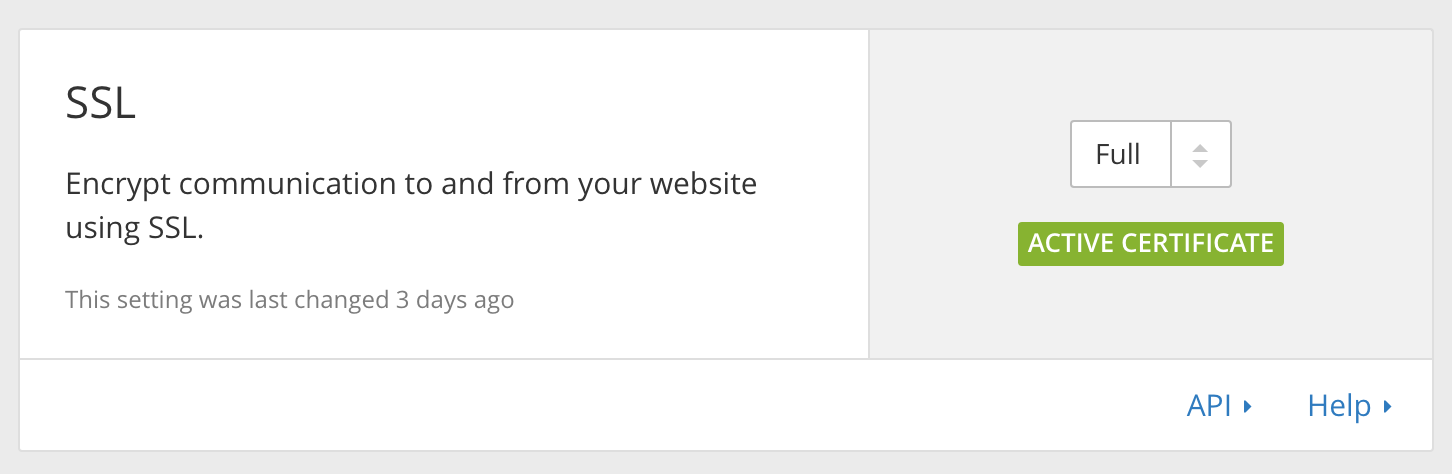
Now that you can navigate to your website using your domain name, you will realise that this is not on HTTPS. So go to the crypto section and select SSL => FULL. Full SSL means that your connection is encrypted between visitor and CloudFlare. And it will also verify that the server has a SSL - but it does not perform validity check.
Next you need to make your users who visit your HTTP pages be redirected to your HTTPS pages.
To do that go to the page rules.
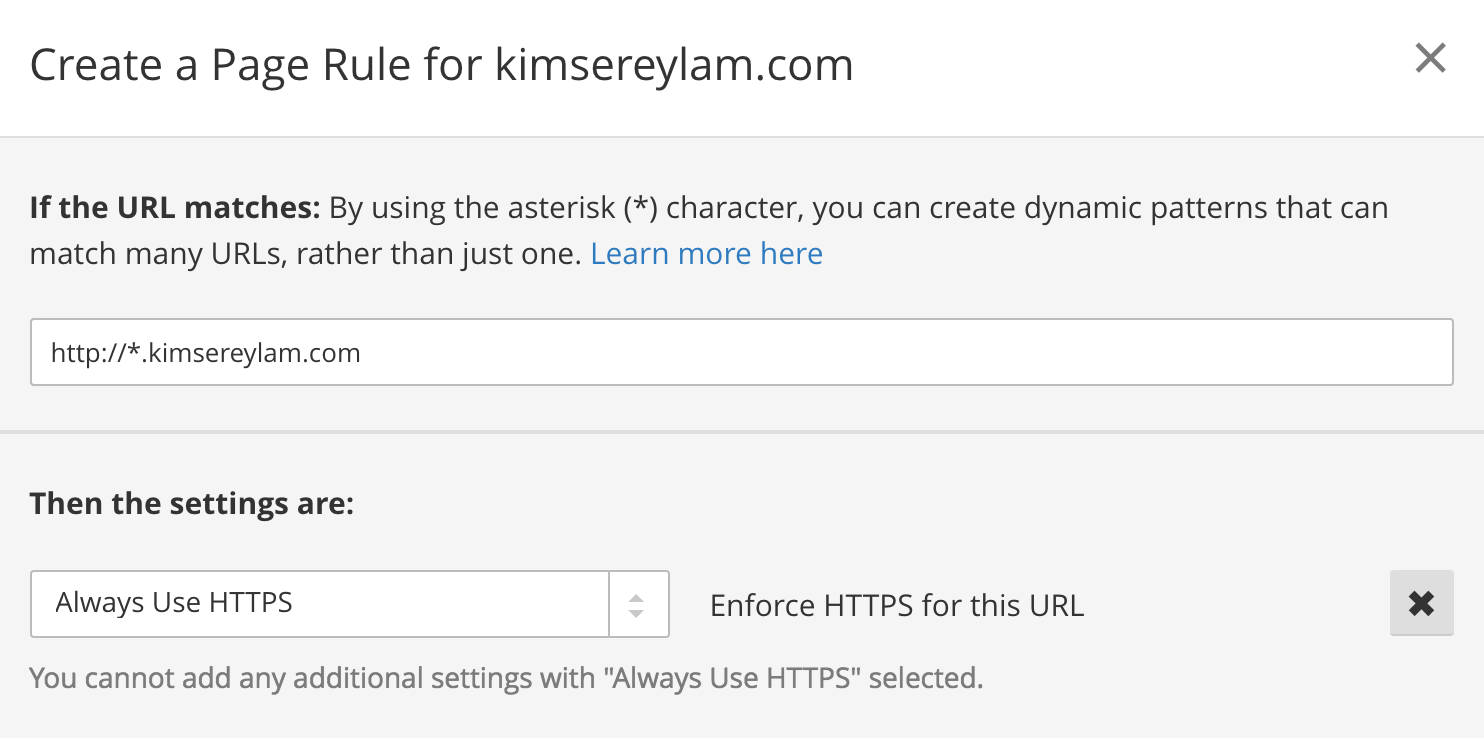
Click on Create Page Rule and add an Always use HTTPS page rule for your domain name with a wildcard to capture any url.
Just wait a while and you should be able to visit your site under SSL!
Conclusion
When it is the first time buying a domain and setting up DNS records, it can be very tedious but if you understand every step and why are this step necessary, the process is easier to remember since you know that every step is mandatory. Today I showed how you can buy a domain name from a registrar and serve it over SSL for free with CloudFlare. CloudFlare also proposes lot more services like minification of CSS/JS and also a CDN. As always if you have any question leave it here or hit me on Twitter @Kimserey_Lam. See you next time!
Other post you will like!
- My website! - https://www.kimsereylam.com/
- From idea to product with WebSharper - https://kimsereyblog.blogspot.co.uk/2016/07/from-idea-to-product-with-websharper-in.html
- Deploy your webapp to Azure VM - https://kimsereyblog.blogspot.co.uk/2016/05/deploy-your-websharper-webapp-on-azure.html
- HTML template with WebSharper - https://kimsereyblog.blogspot.co.uk/2016/08/create-html-componants-for-your.html
Comments
Post a Comment