How to use the Snackbar API in Xamarin.Android and Xamarin.Forms
Use Android Snackbar for your Xamarin Android project from Xamarin Forms
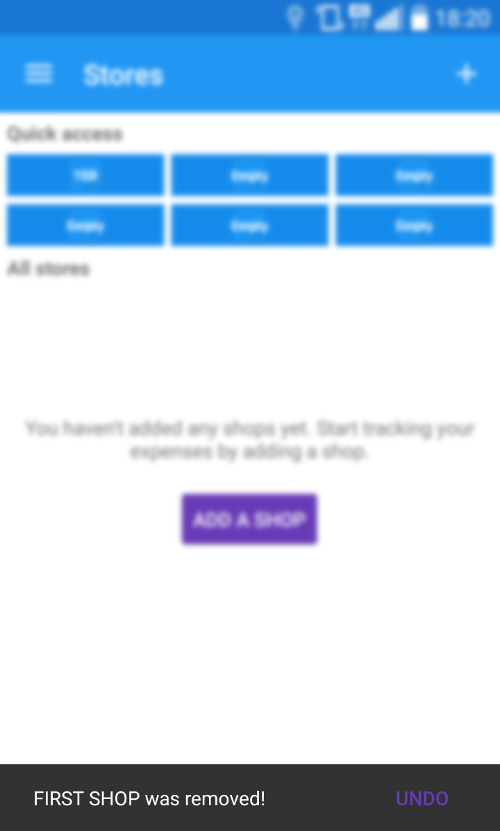
The Snackbar API is a sleek way to provide notifications in Android. Here’s how it look like:

You might have noticed the usage of it in applications that you use daily like Chrome, get the notification that the tab was closed.
This is the snackbar. Today we will see how to use the snack bar api with Xamarin Android and how we can call it from our Xamarin Forms project.
This post is composed by 3 parts:
1. When is the snackbar useful
2. Implement the snackbar api
2. Call it from Xamarin.Forms
1. When is the Snackbar useful
The snackbar can be use to notify the user that something had happen. You would pass it a message which would popup for few seconds to acknowledge the user action.
Another useful scenario for the snackbar is to provide an instant non obstrusive way to rectify an error by providing an action button on the right. The most common action is the undo action which allows the user to rectify the last changes made.
This is cool because with touchscreens it is highly possible that users make mistakes like clicking on the wrong icon.
2. Implement the snackbar api
To implement the snackbar api you need the Android.Support.Design.Widget library.
Then the functions to used are available via the Snackbar class.
public static Snackbar Make (View view, string text, int duration);
public void Show ();
public Snackbar SetAction (string text, Action<View> clickHandler);
Make and Show are the main function.
Make can be used to instantiate a new snackbar and when you need to show it, call show.
An action with a title can also be given to the snackbar to create a button like the UNDO.
Now to use the snackbar from Xamarin.Forms, we need to call it from a service which will be injected into the XamarinForms project.
3. Call it from Xamarin.Forms
We define an interface INotification which will expose a function to send a notification to the user when events like add update or delete happen.
public interface INotification
{
    void Notify(string message, int duration, string action, Action<object> callback);
}
And we can now implement that in our Android application where we place the service and call the snackbar api like how we described in 2.
[assembly: Dependency(typeof(MyProject.NotificationService))]
namespace MyProject
{
    public class NotificationService : INotification
    {
        public void Notify(
                string message,
                int duration,
                string actionText,
                Action<object> action)
        {
            var view = ((Activity)Forms.Context).FindViewById(Android.Resource.Id.Content);
            var snack = Snackbar.Make(view, message, duration);
            if (actionText != null && action != null)
                snack.SetAction(actionText, action);
            snack.Show();
        }
    }
}
The snackbar requires the current view to calculate where it should be shown.
Notice how we get the current view from the Forms.Context by using the Android.Resource.Id.Content to pass it to the snackbar.
Now that we have the service implemented, we can use it in our Xamarin.Forms.
... Somewhere in your Xamarin.Forms project ...

DependencyService.Get<INotificationService>()
    .Notify("Item was removed!", 5000, "UNDO", obj => undo());
And we are done! We now have a simple notification service which prompt a non obstructive notification, simple and clean, couldn’t ask for more.

Conclusion
Today we saw how we can leverage the snackbar api introduced in Lolippop to give notifications to the user in a sleak non obstrusive way. I used the snackbar for all sort of notification due to its non obstrusive nature, it gives a way for the user to revert back an unwanted action and at the same time does not disturb user when the action was intended. I hope you like this post, if you have any comment leave it here or hit me on Twitter @Kimserey_Lam. See you next time!
Other post you will like!
- Build your own Line Chart for Xamarin.Forms (Part 2) - https://kimsereyblog.blogspot.co.uk/2016/10/build-your-own-line-chart-for_31.html
- Build your own Line chart for Xamarin.Forms (Part 1) - https://kimsereyblog.blogspot.co.uk/2016/10/build-your-own-line-chart-for.html
- What does DP, DPI, PPI and PX represent in Android - https://kimsereyblog.blogspot.co.uk/2016/10/what-does-dp-dpi-ppi-and-px-represent.html
- Make a splash screen in Xamarin.Android - https://kimsereyblog.blogspot.co.uk/2016/10/how-to-make-splash-screen-with.html
- Make an accordion view in Xamarin.Forms - https://kimsereyblog.blogspot.co.uk/2016/10/build-accordion-view-in-xamarinforms.html

Comments
Post a Comment