Create a Splash screen on Xamarin.iOS Xamarin.Forms project
Create a Splash screen for your Xamarin.iOS app to be used with Xamarin.Forms project
Few weeks ago I explained how we can create a splash screen for Android. Xamarin.Forms takes few seconds to load at each start so it is important to provide a feedback to the user when they click on our icon. The splash screen answers that by providing a way to show a loading screen. Today we will see how we can setup a simple splashscreen with an image centered and with a text label.
This post will be composed by 3 parts:
- Create the splash screen
- Understand layout constraints
- Layout the splash screen
1. Create the splash screen
When creating a Xamarin.Forms project, the iOS project gets created with a Launchscreen.Storyboard.

Compared to Xamarin.Android, this screen is already configured to show until your app has been fully loaded in the background.
Open the storyboard and the storyboard editor should appear. Our splash screen will be composed by an image with a simple text therefore drag an image view and a label and set the properties as needed.
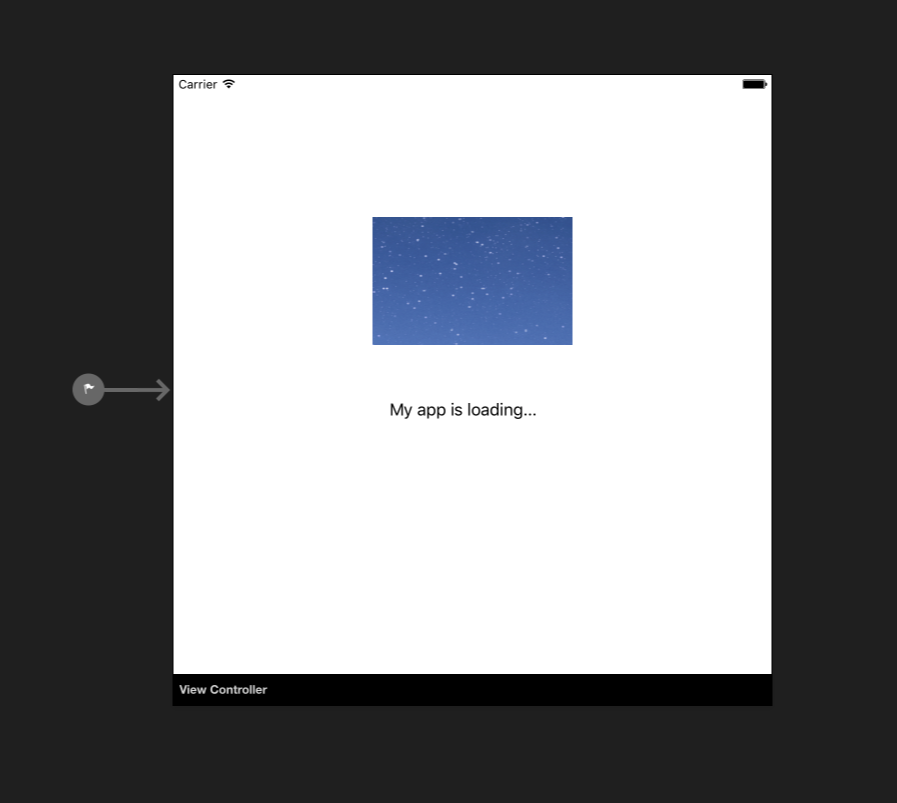
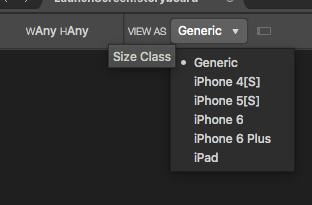
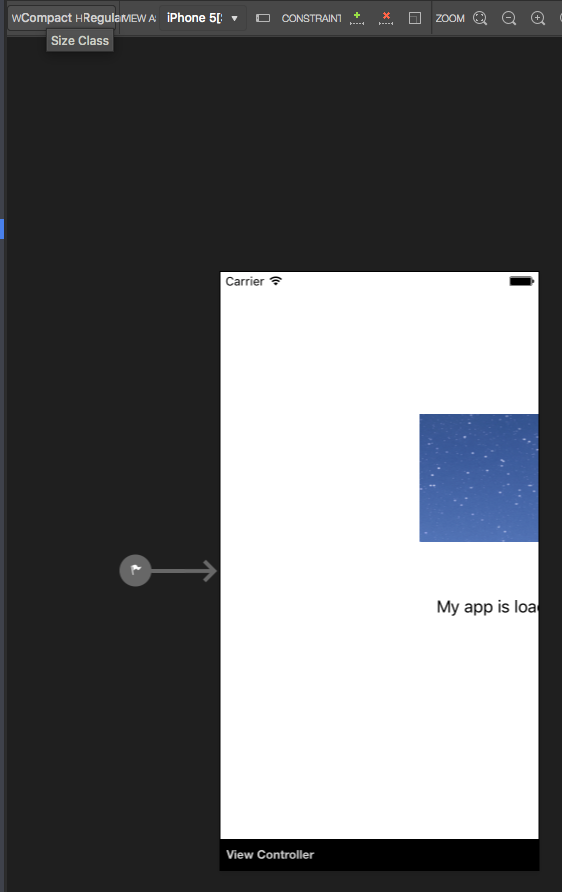
This looks good but if we change the device view, we can see that the layout doesn’t readjust itself. What we need is layout contraints.
##2. Understand layout constraints
When you first select your element, it becomes surrounded by rounds which can be used to resize the element. If you click a second time, it then becomes surrounded by T and have a square in the middle. Those are the tools to set the layout constraints.
- The
Ion the bottom and right are used to set a constraint on width and height or ratio. - The side
Tare used to set a constraint on the distance between the side and another element of the layout or the boundary of layout or middle of width or middle of height. - The middle
squareis used to set a constraint on the middle of the element against other elements or layout properties (like the side ones)
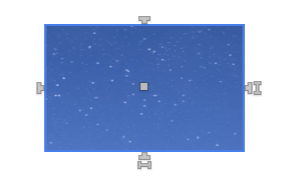
To set a constraint, drag or click on one of the tools.
Constraint missing
The editor helps us to see if there is anything wrong. When setting constraints, we might omit to set one that would be needed to display the layout properly. For example if we set a left constraint with a top constraint, the editor will complain that we need another constrain on width and height. This is because knowing the left and top placement is not enough for the layout to adjust the element properly. It needs to know it’s width and height too. When this happens a small icon appears at the bottom right and we can click it to have Xamarin fix our layout.
Re-position element
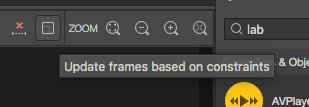
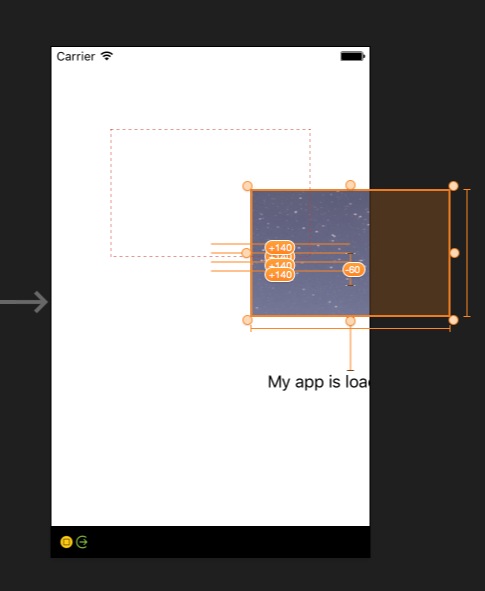
After we set the constraints, when we change the view we can see that the layout doesn’t change. But the difference is when we click on an element, if we have set the constraints properly, we should see a dashed area on the layout which represents the position of the element when the constraints are applied. If we see this, we can click on the top right square icon which is the button to re arrange the layout and the element should be re adjusted properly.
3. Layout the splash screen
In 1 we placed the splash screen elements on the layout. In 2 we understood how constraints work. Now all we need to do is to set the constraint on our splash screen elements; the image and the label.
There are multiple ways to set constraints which yield the same result. Here I will show one way.
First set the width and height of the image.
Next fix the distance of the image from the center of the screen height.
This together with the left and right allows the layout to know exactly where to position and resize the image.
Next we move to the label and set the width and height, the top to the bottom of the image (to keep the same distance among screen sizes between the top image and the label) and lastely set the center of the label to the center width of the screen. Those constraints will allow the layout to know exactly where the label must be placed.
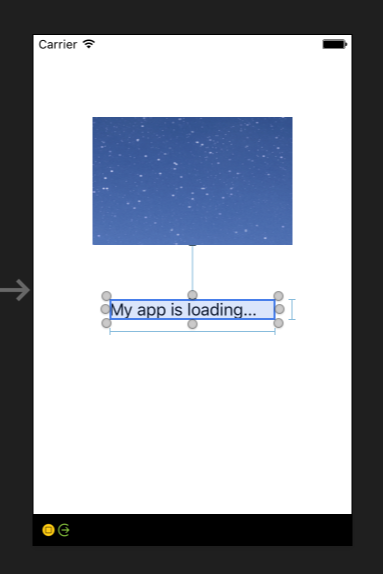
Layout constrains are also visibile from the properties > layout menu.
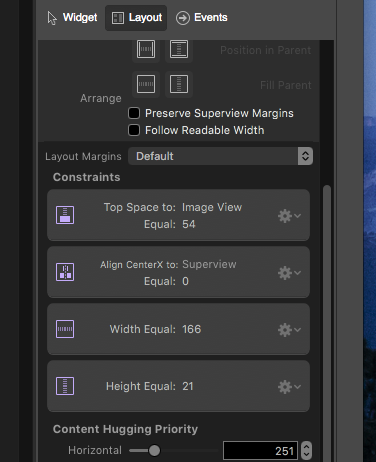
And that’s it, now that we have all constraints set, when changing screen size, the layout should be able to re arrange the elements.
Conclusion
Today we saw how we could create a splash screen in iOS. By creating a splash screen, we also explored how the storyboard editor works with constraints and how we can make a responsive layout. Hope you enjoyed this post! As always, if you have any question leave it here or hit me on Twitter @Kimserey_Lam. See you next time!
Other posts you will like
- Use FontAwesome from Xamarin.iOS - https://kimsereyblog.blogspot.co.uk/2017/01/use-fontawesome-on-your-xamarinios-app.html
- Get started with SQLite in Xamarin.Forms - https://kimsereyblog.blogspot.co.uk/2017/01/get-started-with-sqlite-in-from.html
- Use Font awesome from your Xamarin.Android app - https://kimsereyblog.blogspot.co.uk/2016/12/use-font-awesome-from-your-xamarinforms.html
- Transform an activity asynchronous event to an awaitable task for Xamarin.Forms services - http://kimsereyblog.blogspot.com/2016/12/transform-operation-from-xamarinandroid.html
- Understand the difference between Internal and External folder storage in Xamarin.Android - https://kimsereyblog.blogspot.co.uk/2016/11/differences-between-internal-and.html
- Use the Snackbar API with Xamarin.Forms - https://kimsereyblog.blogspot.co.uk/2016/11/how-to-use-snackbar-api-in.html
Support me!
Support me by visting my website. Thank you!
Support me by downloading my app BASKEE. Thank you!
Support me by downloading my app EXPENSE KING. Thank you!
Support me by downloading my app RECIPE KEEPER. Thank you!

Comments
Post a Comment