GIMP primary features
GIMP’s primary features
When working on personal projects, there’s one thing which use to always make me waste lot of time - art. Art in the sense of making logo, icon and other images like feature graphics or promotional images. Making something that looks “ok” is not as easy as it seems especially for people like me who have no sense of art whatsoever.
Few weeks ago I completed Baskee and had to develop a feature graphic for it. Also my friend came up with the logo idea and I wanted to enhance it to make it more appealing.
This sort of skills are always needed as it is hard to find people to do some art things for free. So might as well learn how to do it yourself by using the best free image editor - GIMP.
GIMP has been there for a decade and it is a well established software so I decided to jump into it to enhance Baskee logo and create the feature graphic.
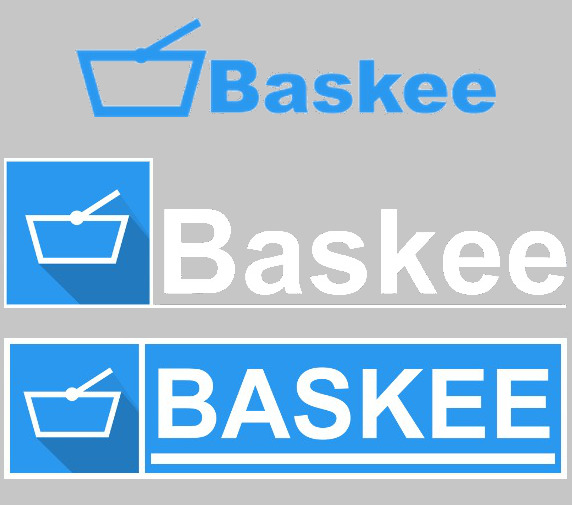
Here’s the evolution of Baskee logo from top to bottom (v1/v2/v3):
This post is a highlight of some features from GIMP:
 1. Zoom / unzoom
 2. Scales (Canvas, image and selection)
 3. Autocrop
 4. Select (rectangle, free, by color)
 5. Guide
1. Zoom / unzoom
Starting by zooming. Probably what I do the most zoom and unzoom using the keyboard shortcut + and -.

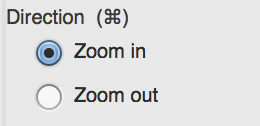
1.1 Usage
I zoom/unzoom to add precision in the selections.
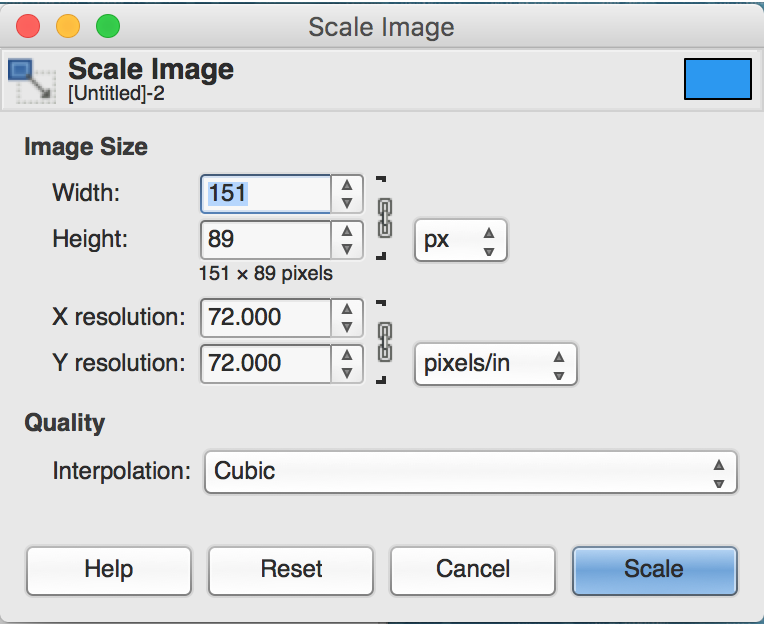
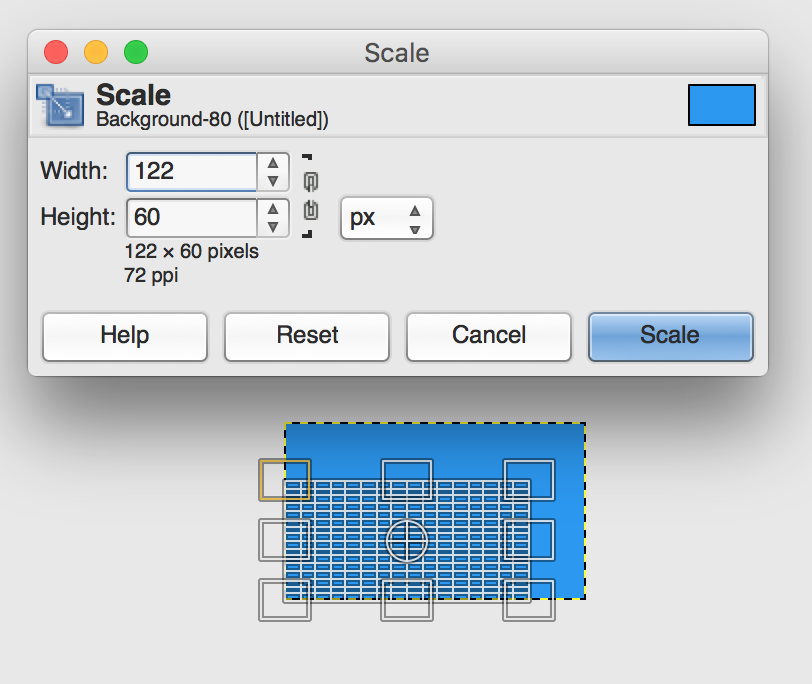
2. Scales (Canvas, image and selection)
Scaling canvas would be used to expand the image drawing area so that you can fit more things.
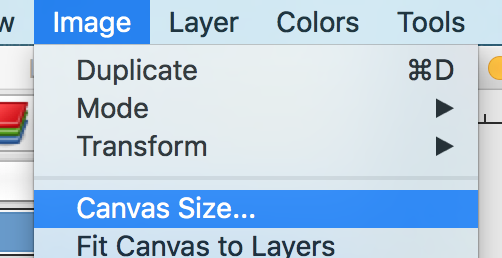
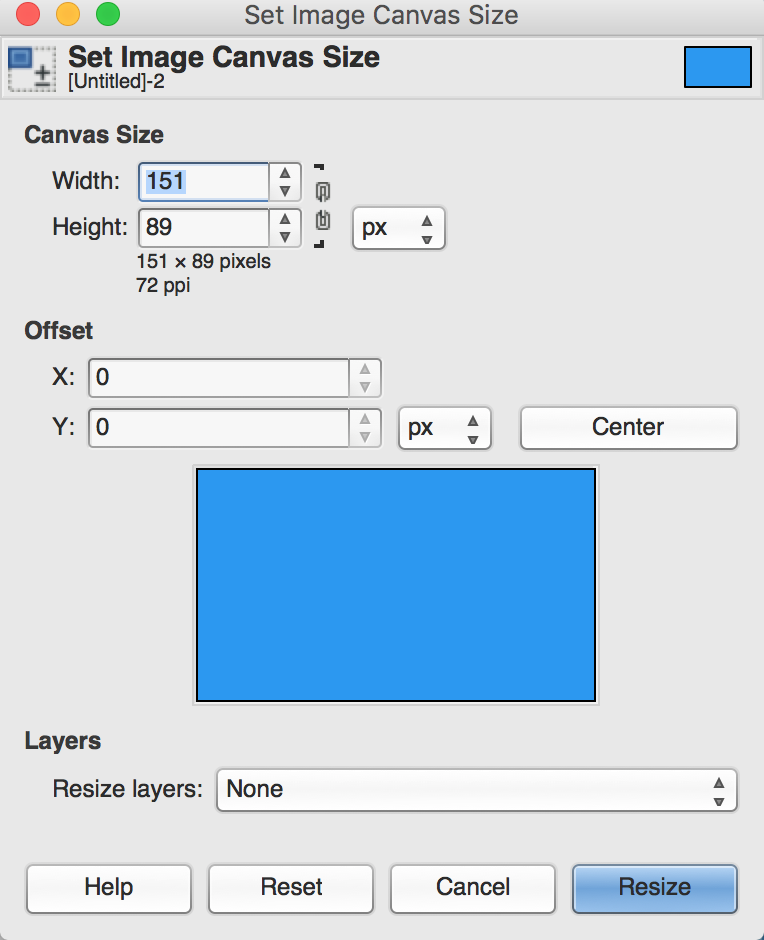
Scaling the image would transform the width and height. It s very useful to downsize the image width and height.

Scaling selection same as scaling image except will scale the selection.
2.1 Usage
I use scaling to create icons of different size to fit different screen sizes of the app. I also use a lot the scaling of selection to construct images of multiple layers and properly size the images so that the overall picture looks alright.
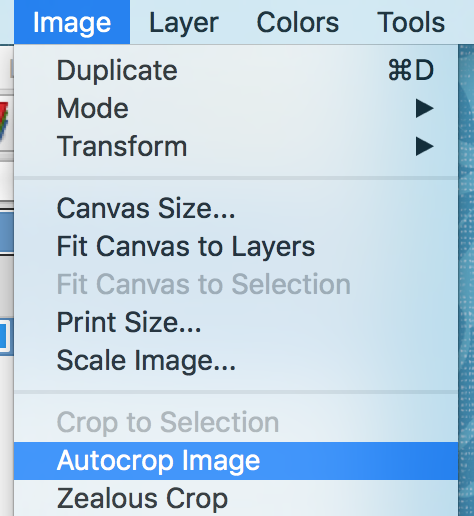
3.Autocrop
Autocrop can be accessed from Image > Autocrop image.
It will remove the transparent part and crop the image.
3.1 Usage
I autocrop my images to remove the transparent part and have canvas precisely fit the image. Doing that allow me to evaluate how the image will fit in the display of the app otherwise if extra spaces is present on the image, it will be harder to center properly the image during the app development.
4. Select (rectangle, free, by color)
Selections are another awesome features. The selections I use most are rectangle selection, free selection selection by color.
Rectangle selection can be access from the icon:

Free selection allows to draw a selection area. It can be accessed from the icon:

Lastely selection by color will select all pixels from the same color selected:

4.1 Usage
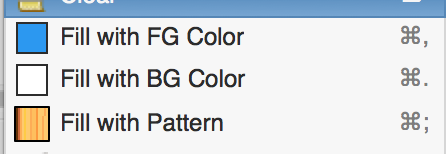
I primarly used the selections to cut or copy pieces of images but it is also useful to make a selection and fill up the selection with a Foreground color or Background color.
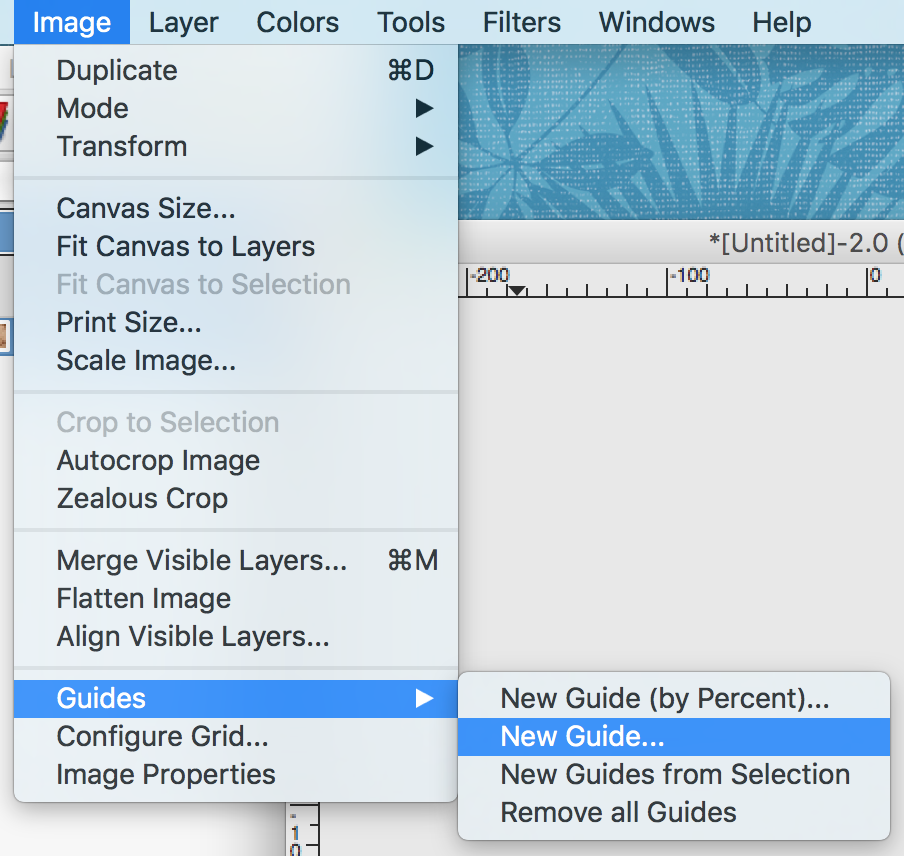
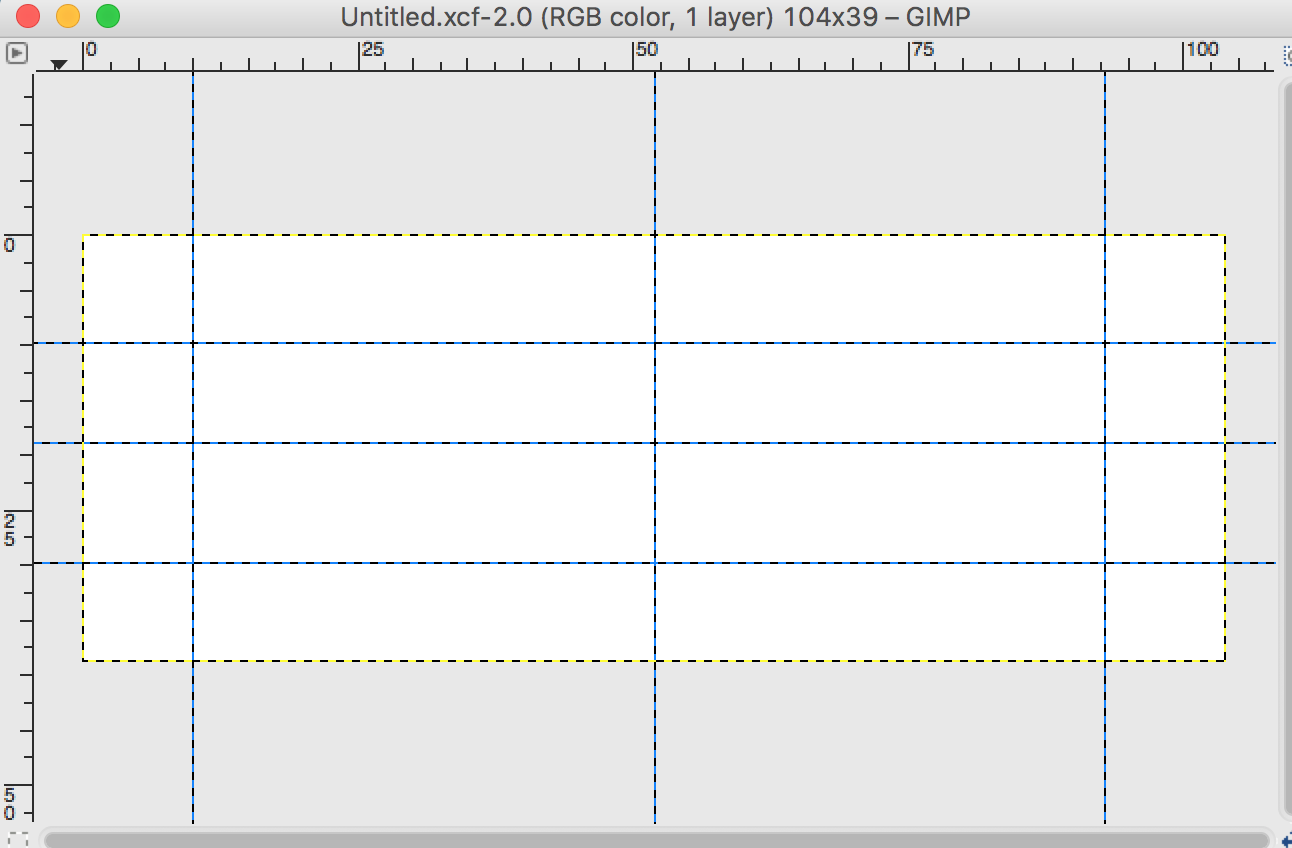
5. Guide
Another extremely useful feature is the guide. It can be created using create guide line to delimit areas in your image.
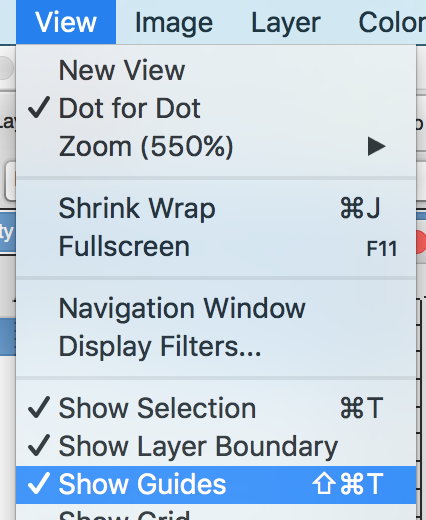
If you don’t see any guide it might be because the visibility isn’t enable. Enable it from the View menu.
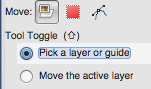
After that it’s possible to move the guides using the move tool and having the options Pick a layer or guide.
5.1 Usage
It can be used to center images. It can also be to guide placement or selections. I used it to make the border of my icon consistant by making selections guided by the guides and filling up with white color.
6. Measure
Lastely a very useful tool is the measurement tool. Click and drag to see the measurements.

The tool measures the distance in pixels and the angle.

The measurement can also be moved around, hover over it and you will be able to drag it around the image.
6.1 Usage
This is very useful to measure line sizes for example to keep a consistant size across the logo. Also dragging the measurement around can be useful to measure multiple places.
Conclusion
Today we saw some useful features of GIMP. I use it quite a lot to do very simple modifications. It is a useful skill to have when you are a one man team without budget! Anyway if you have advices for me on GIMP or any questions leave it here or hit me on Twitter @Kimserey_Lam. See you next time!
Other posts your will like!
- Deploy an application on Google play store - https://kimsereyblog.blogspot.co.uk/2016/09/publish-your-android-app-to-google-play.html
- Xamarin Forms absolute layout and relative layout - https://kimsereyblog.blogspot.co.uk/2016/09/absolute-layout-and-relative-layout.html

Comments
Post a Comment