Publish your Android app to Google Play Store
Publish your Android app to Google Play Store
Have you ever wondered what needs to be done to push an app on google play store? How many steps are involved? How much does it cost? What information is required?
Few weeks ago I asked myself these questions and to answer it, I decided to publish an app on Google play store. Last week I completed a simple application and pushed it under alpha release on the Play store so today I would like to share what I did so that you will know how to do it too.
This post is composed by three parts:
 1. Build, signed and aligned the APK
 2. Activate the google play developer console
 3. Push your app
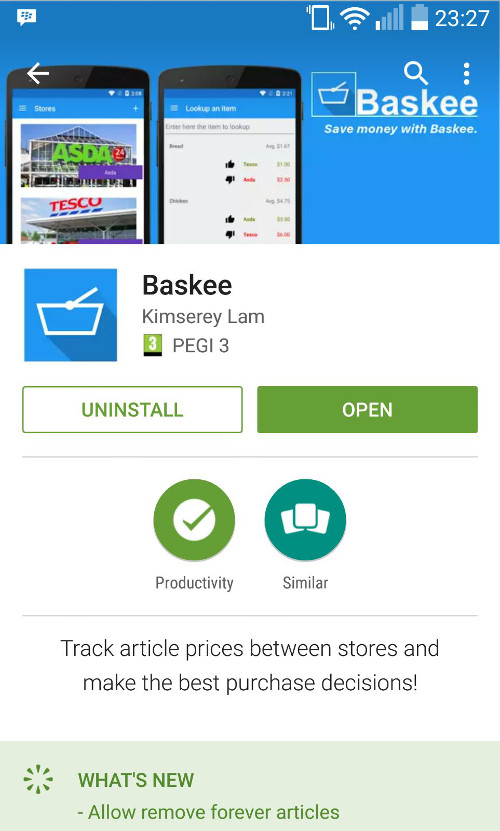
Here’s a preview screen of my app published in alpha release - Baskee.

You will see the acronym APK everywhere in this post. APK is the format of the application packages delivered for Android devices. Just in case you are interested, my development stack is VS2015 on Windows10, coding in F#/C# with Xamarin forms and Xamarin Android.
1. Build, signed and aligned the APK
Before thinking of publishing to Google play store, the first thing to do is to sign the APK. Any APK published on Google play store must be signed. This process is to prevent malicious users from uploading update APKs on your own app. Only signed APK with the correct certificate can upgrade the current one published on the store. To sign the APK we need to create a keypair public/private which will be held in a keystore. The keystore protects the key under a password which then makes it harder to compromise. The command to generate the keystore with a keypair is:
//make sure you have java\jdkx.x.x\bin in your path first
keytool -genkeypair -v -keystore baskee.keystore -alias baskee -keyalg RSA -keysize 2048 -validity 10000
baskee.keystoreis the name of my keystore, you can put what ever you wantbaskeeis the alias of the keypair, you can put what ever you want but make sure you remember it- alias is the alias of the key
- keyalg is the algorithm
- keysize is the size
- validity is the number of days the key is valid for
It will ask you multiple questions which will be used to create the certificate and if you don’t have a keystore yet, it will create it. A keystore can contain multiple keys and you can list it using:
keytool -list -keystore baskee.keystore
Now that we have the keystore, we can use it to sign our APK. To do that, start by building your app in Release config.

Then head to Tools > Android > Publish.

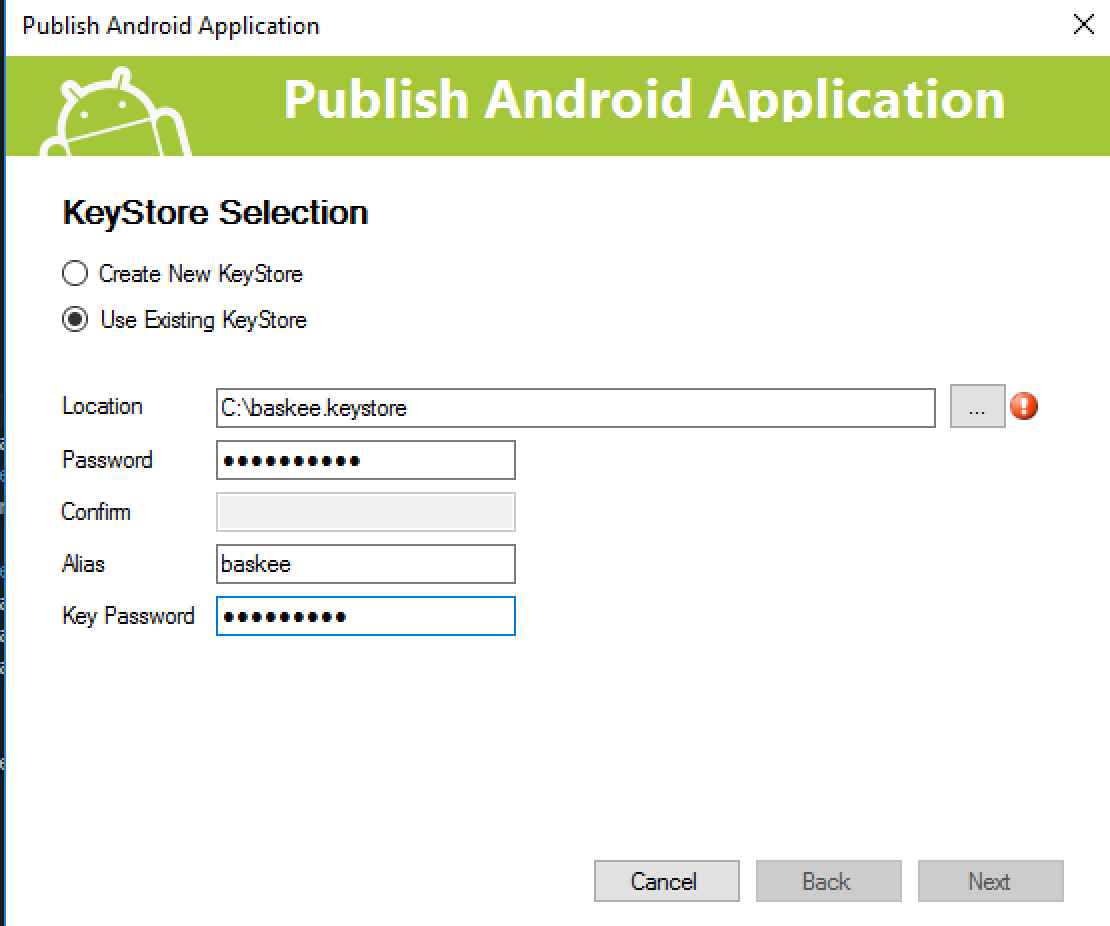
Select the keystore created previously, enter the password you set while creating the keystore and specify which key to use by entering its alias together with the password of the key (the second password you have entered previously).

In this process, VS will compile under Release configuration, sign the apk using the key held in the keystore and finally align the apk. The result is a file named:
com.kimserey.baskee-Aligned.apk
Aligning the apk is a process mandatory before publishing in the play store.
Now that you have the aligned APK you can move to the next step - Create a Google Play developer account.
2. Google account
Now head to the Google play developer console https://play.google.com/apps/publish/ and complete the process to open an account.

Here you will need to pay 25 dollars to activate your account.
Once that you have activated your account, you should be able to access the portal.

From there, you can Add a new application and load an APK but you will not be able to publish it yet.
You need to first provide few more details before having the possibility to publish it.
3. Publish your app
After your APK is loaded before being able to push the app, some documents need to be provided and some information need to be completed.
The three sections to answer are:
- Store Listing, provides information for the store listing of your app
- Content rate, evaluates the age rating of the app
- Pricing & distribution, provides information on the prices of the app, advertisement and distribution
Content rate and Pricing & distribution are straight forward, there are just questions to answer and consent to give. Probably the one which will take the most time if you don’t have it yet are the information for the Store listing, especially the high resolution icon adn the feature graphic.
The high resolution icon 512x512 is the icon which will be displayed in the store. Here’s Baskee icon:
![]()
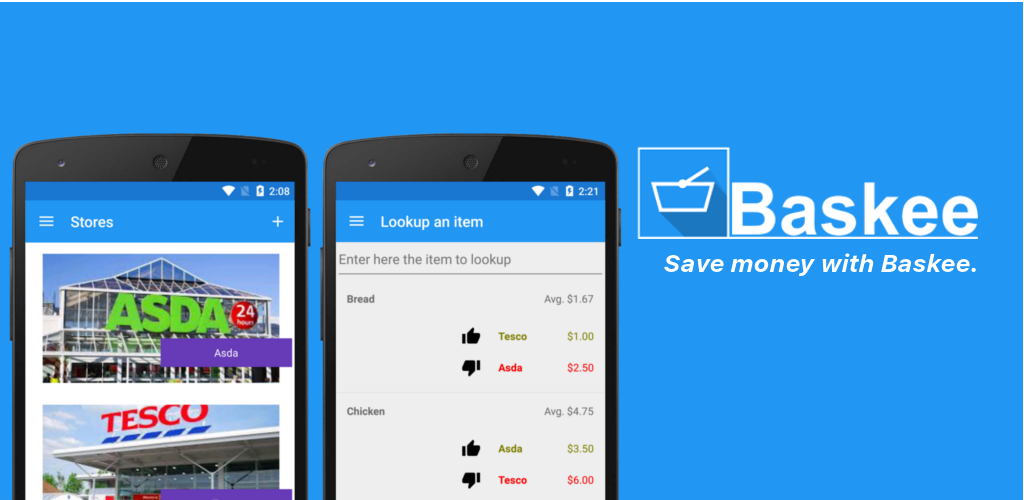
The feature graphic is the image which will appear at the top of the store. Here’s the feature graphic of Baskee:

You will also need to provide screenshots:

Once you’ve done that you should be able to click publish. The app does not get published instantly, so just wait a few hours and that’s it!
Congratulation you have deployed an app on Google play store!

Conclusion
Today we saw how we could take a completed application and publish it to Google play store. I hope you could get a sense of what has to be done to publish. The process isn’t difficult and it takes just few minutes to complete if you already have an icon and a banner for the store listing. Hope you enjoyed reading this post as much as I enjoyed writing it, as always if you have any question leaveit here or hit me on Twitter @Kimserey_Lam. See you next time!

Great Share!
ReplyDeleteI have a doubt about the charge of $25 whether it is a one time charge or it will be required each time when I publish a new app in Google Play Store?
Keep sharing!
Best Regards
Ebony Lorenz
Thanks for reading the post! The 25 dollars is a one time charge. You will be able to publish multiple apps after.
DeleteHi Kimserey Lam
ReplyDeleteThanks for responding. Alright if $25 is one time charge then surely I will use it.
This comment has been removed by a blog administrator.
ReplyDelete